Crafting with buttons is pure joy. But sometimes, that pesky shank on the back throws a major wrench in your creative plans. It will be bulky for your delicate jewelry project or won’t sit flat on your unique button art masterpiece. Well, fret no more, button newbies and craft queens alike! We’re here to show you how to remove a button shank like a total pro.
But First, Why Bother?
Removing a button shank opens up a whole world of creative possibilities! Think stunning button earrings, funky coasters adorned with mismatched buttons, or a chic button-covered phone case. The options are endless!
Okay, Okay, What’s a Button Shank Anyway?
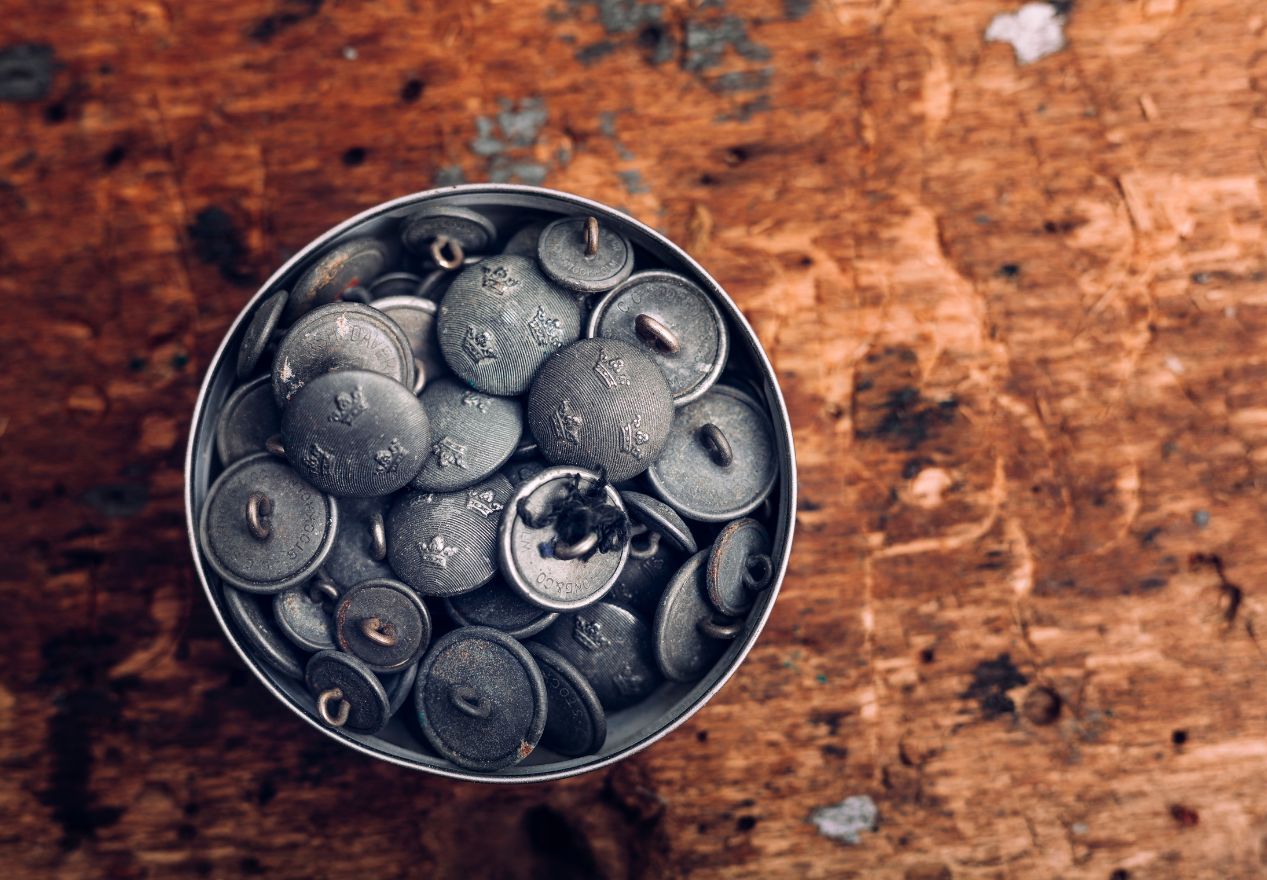
That little loop or metal post sticking out the back of your button? That, my friend, is the button shank. Its purpose is to create space between the button and the fabric it’s sewn on, allowing for easier buttonholing. But in the crafting world, it’s just an unwanted visitor we must remove politely (or not so politely).
Gear Up for Shank Removal!
Here’s what you’ll need to banish those button shanks to craft oblivion:
- Sharp side cutters: These bad boys are your best friends for quick and clean shank removal.
- Needle-nose pliers (optional): If the shank is stubborn, these can help you grip it for easier cutting.
- Towel or rag (optional): Placing your button on a towel will prevent it from slipping and scratching while you work.
The Great Shank Escape: A Step-by-Step Guide
- Prep Your Workspace: Find a well-lit area and lay down your towel (if using).
- Hold on Tight: Using your fingers (or needle-nose pliers if needed), firmly grip the button shank as close to the base as possible.
- Snip, Snip, Hooray!: With your side cutters, carefully clip the shank at the base where it meets the button.
- File Away Any Rough Edges (Optional): If sharp edges are left behind, use a nail file to smooth them out.
Uh Oh, Shank Removal Fail? Don’t Panic!
Sometimes, even the best-laid crafting plans go awry. If you accidentally nick the button itself while removing the shank, don’t despair! A little dab of fabric glue can fix a small chip, and some creative paintwork can even hide a minor mishap.
Wrapping Up
There you have it! You’ve successfully removed that pesky button shank and are now officially button-savvy crafting extraordinaire! So flaunt your newfound knowledge and get ready to button-ify the world! Happy crafting!
